Mastering the Art of Drywall Patching
Drywall damage, whether caused by accidental holes, dents, or cracks, can detract from the appearance of your walls and compromise the structural integrity of your home. Fortunately, patching drywall is a relatively simple and straightforward process that can be completed with the right tools and materials. In this guide, brought to you by Chatham-Kent Drywallers, we'll walk you through the step-by-step process of patching a hole in drywall, along with the tools and materials you'll need to get the job done.
Materials Needed:
- Drywall patch kit or drywall scraps
- Drywall joint compound (mud)
- Drywall tape
- Sandpaper (medium and fine grit)
- Putty knife or trowel
- Utility knife
- Paintbrush or roller
- Paint (matching wall color)
Step 1: Prepare the Area
Begin by clearing the area around the damaged area of any furniture, decor, or obstructions. Use a utility knife to remove any loose or damaged drywall around the hole, creating a clean and even surface for the patch.
Step 2: Cut the Patch
If you're using a drywall patch kit, follow the manufacturer's instructions to cut a patch that is slightly larger than the hole. Alternatively, if you're using drywall scraps, measure and cut a patch to fit the size of the hole, ensuring that it extends beyond the damaged area by at least an inch on all sides.
Step 3: Apply the Patch
Position the patch over the hole and secure it in place with drywall screws or adhesive, making sure it sits flush with the surrounding wall surface. If necessary, use drywall tape to reinforce the edges of the patch and prevent cracking.
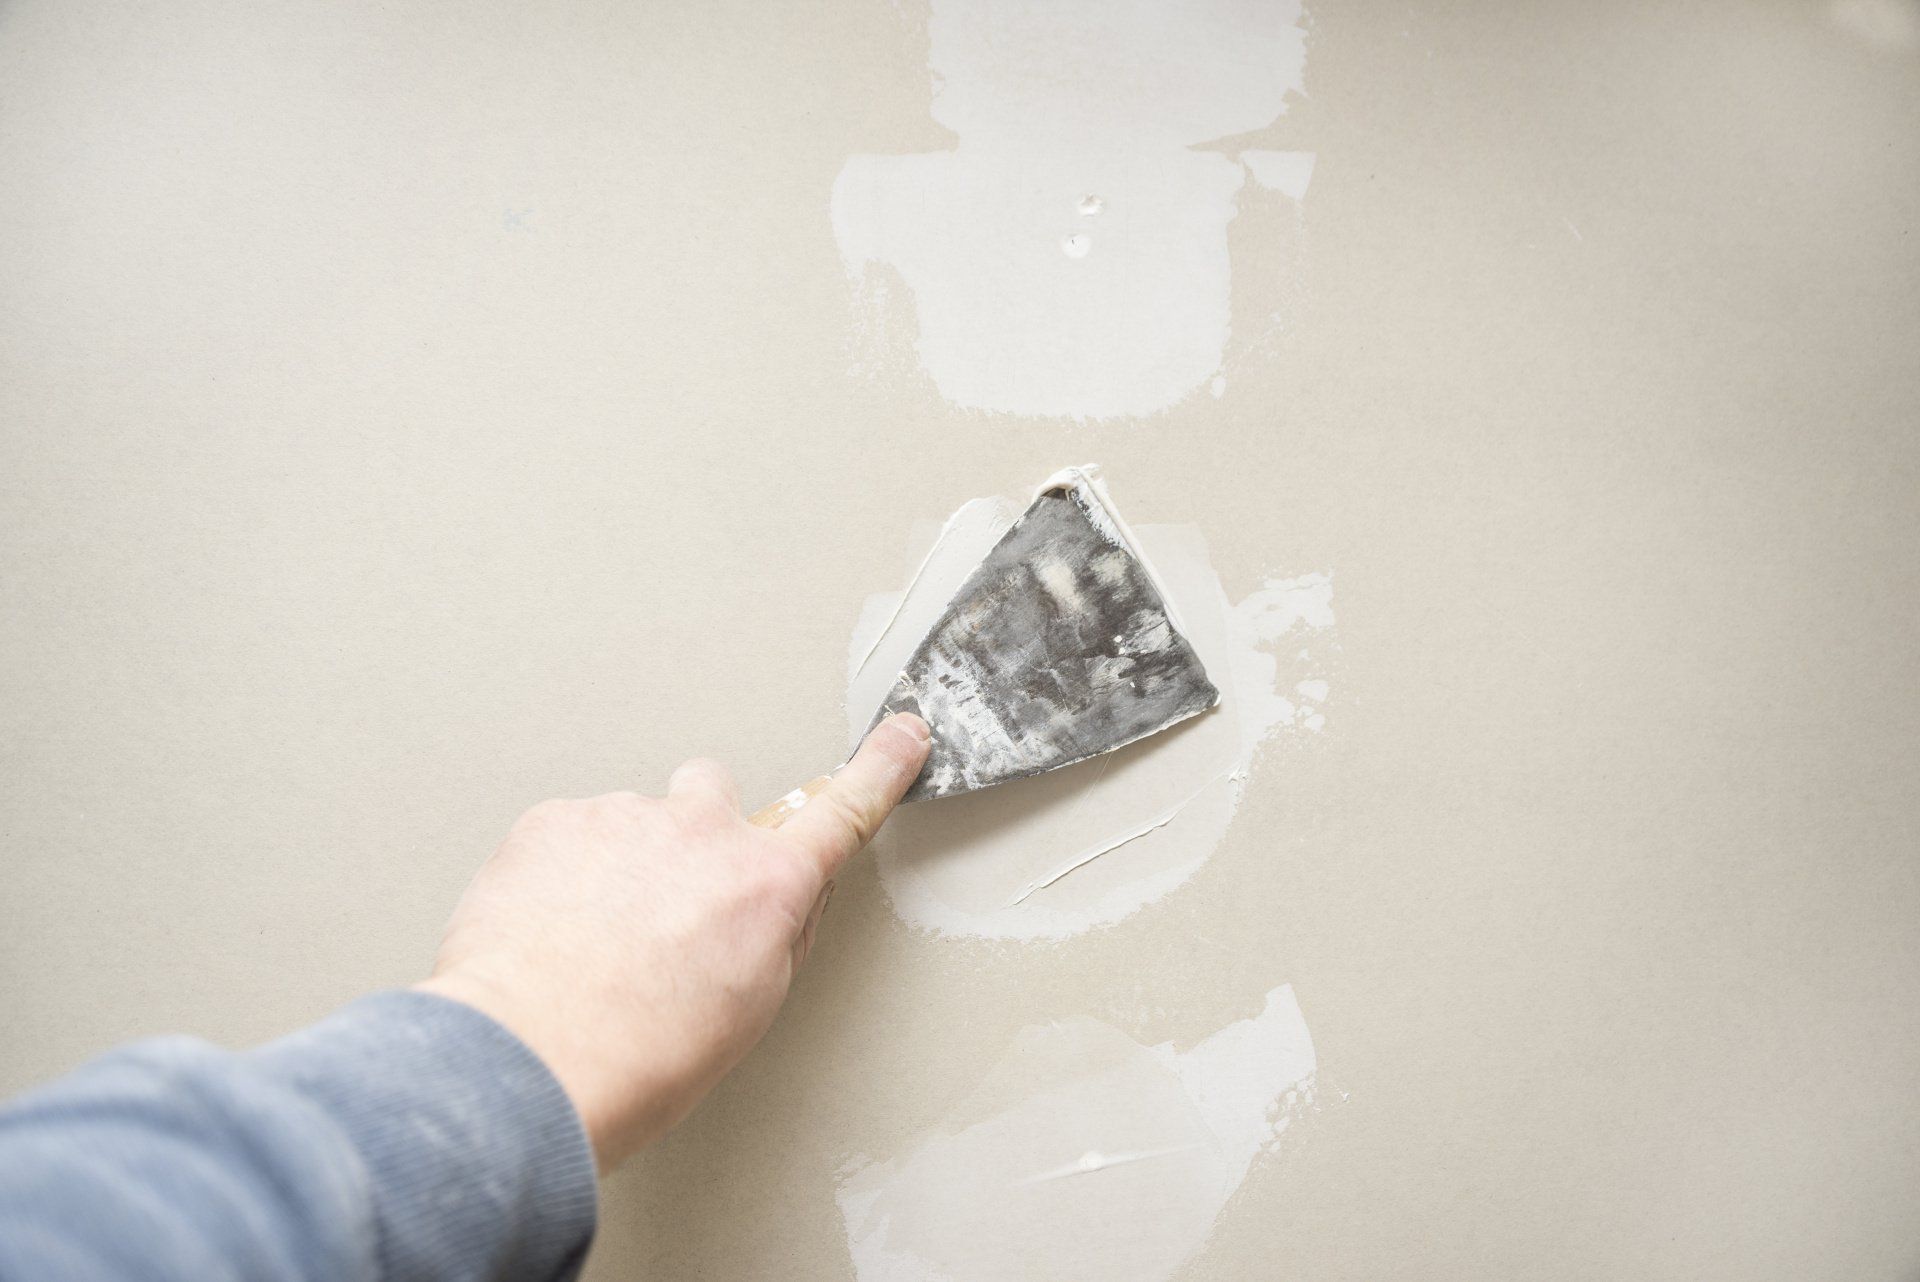
Step 4: Apply Joint Compound
Using a putty knife or trowel, apply a thin layer of joint compound (mud) over the patch, smoothing it out to blend with the surrounding wall surface. Allow the first coat of mud to dry completely, then sand it smooth with medium-grit sandpaper.
Step 5: Apply Additional Coats
Apply two or three additional coats of joint compound, allowing each coat to dry completely before sanding it smooth with fine-grit sandpaper. Feather the edges of the mud outward to blend seamlessly with the surrounding wall surface.
Step 6: Prime and Paint
Once the final coat of joint compound has dried and been sanded smooth, prime the patched area to seal the surface and ensure proper paint adhesion. Once the primer has dried, paint the patched area with a matching wall color using a paintbrush or roller.
Step 7: Finish and Clean Up
Inspect the patched area for any imperfections or unevenness, and touch up as needed with additional joint compound and sandpaper. Once you're satisfied with the results, clean up any dust or debris and replace any furniture or decor that was moved during the patching process.
Conclusion:
Patching a hole in drywall is a manageable DIY project that can be completed with the right tools and materials. By following this step-by-step guide from Chatham-Kent Drywallers, you can repair drywall damage quickly and effectively, restoring the appearance and integrity of your walls with minimal hassle. If you encounter any challenges or prefer professional assistance, don't hesitate to contact our team for expert drywall repair services.
You might also like